New Version : http://blog.winkeyless.kr/207
This document is supposed to explain how to assemble B-series acrylic cases(BBB acrtkuc cases).
Despite poor English explanation, you could follow the instruction easilty through lots of photos.
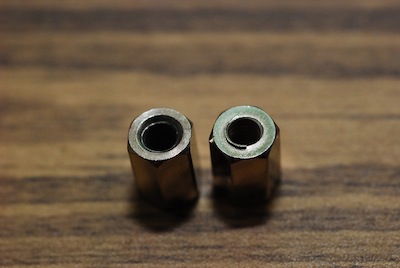
1. Long nuts (M3 * 7mm)
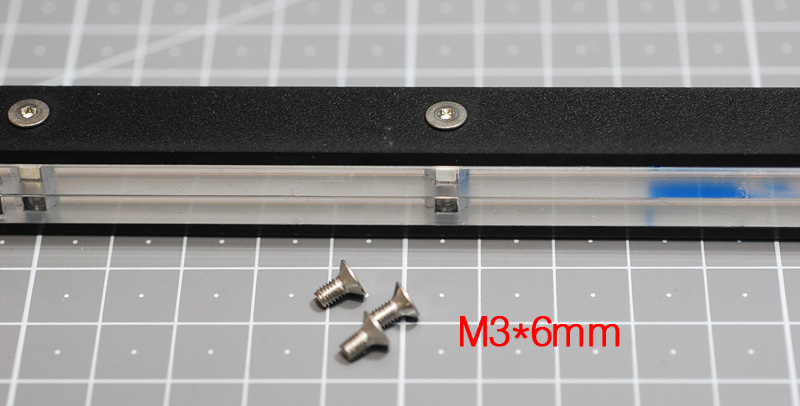
2. Bolts (M3 * 6mm)
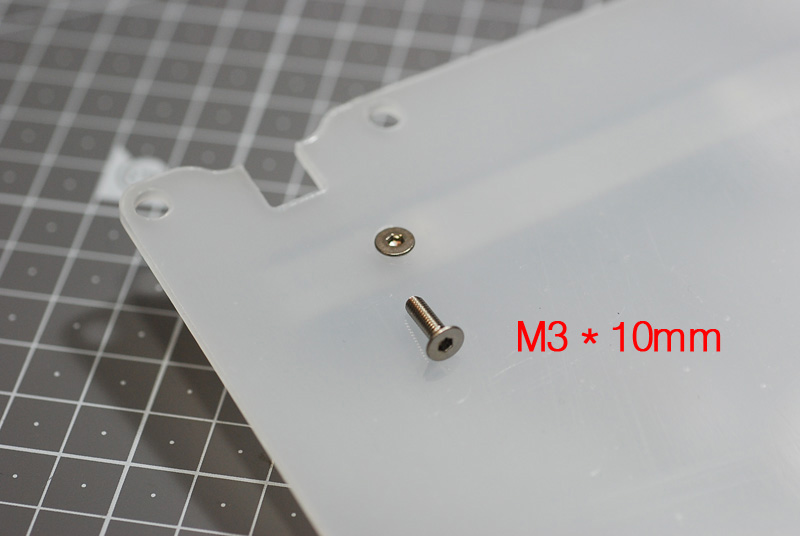
3. Bolts(M3 * 10mm)
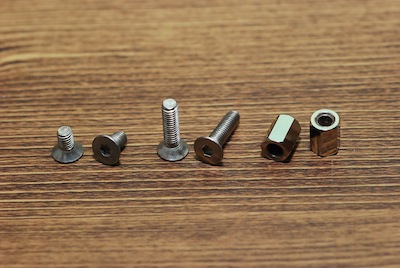
4. Bumpons(TP104 3M #5302 or same size. 4ea)
5. Hex wrench driver ( 2mm)

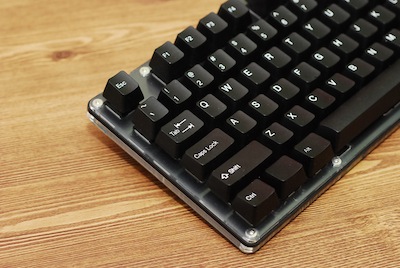
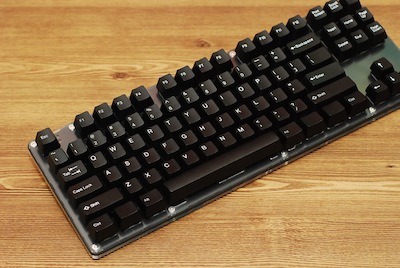
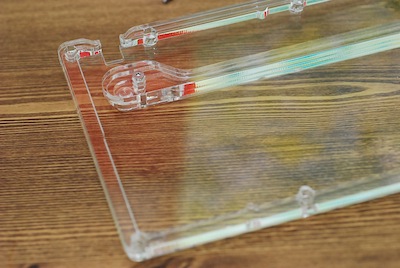
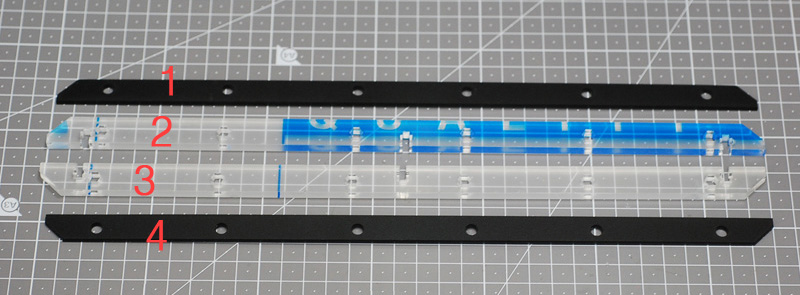
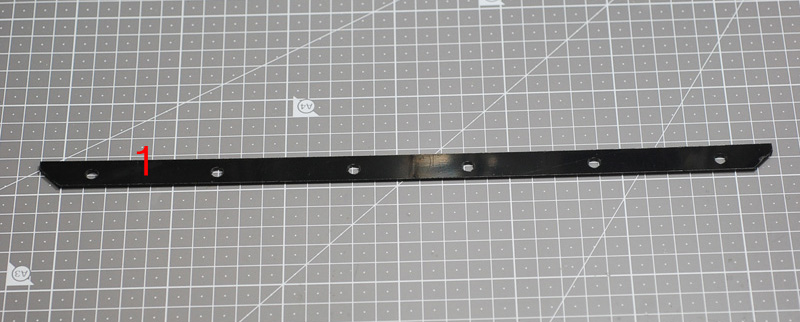
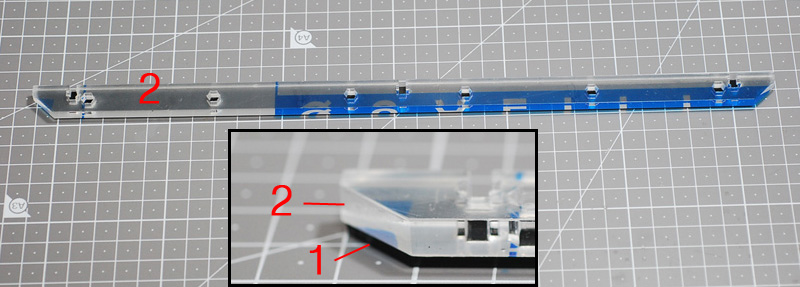
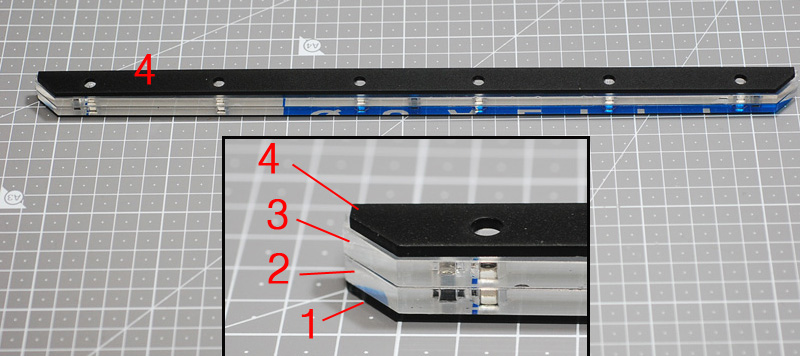
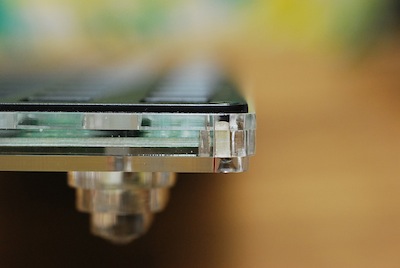
1. A set of case is composed of 7 pieces. (4 are as body and 3 are as feet.)
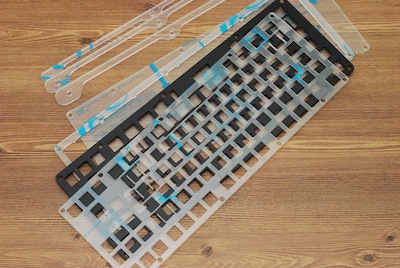
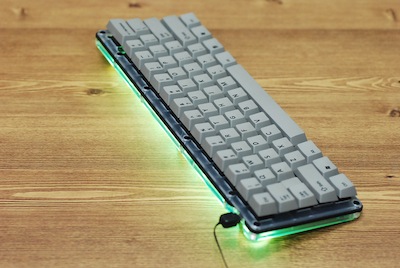
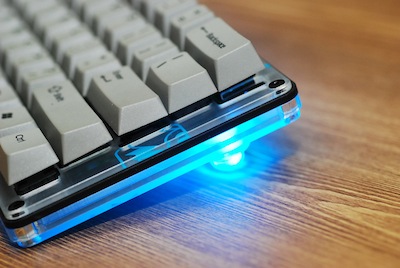
As you can see in the above picture, we recommend you choose transparent or translucent cases except the first and second one to maximize LED effect.
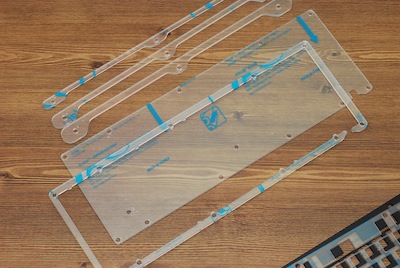
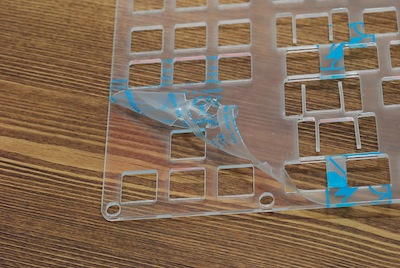
2. If acrylic cases have the protection films attached to both sides, first of all you should detach them.
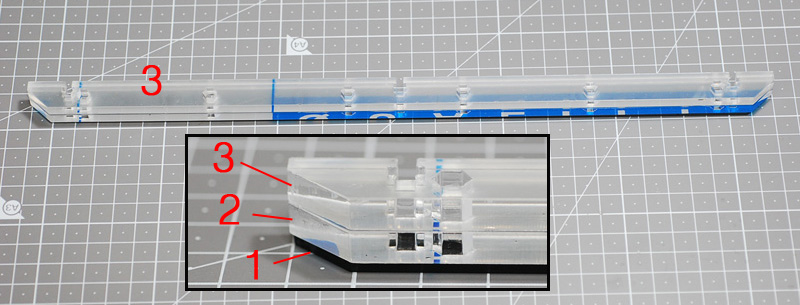
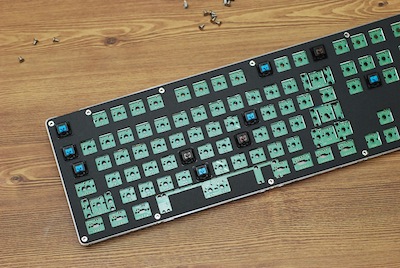
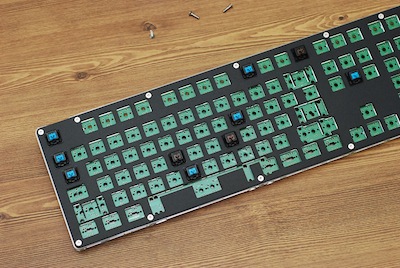
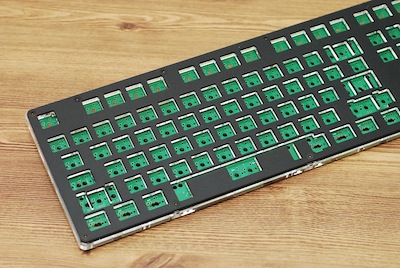
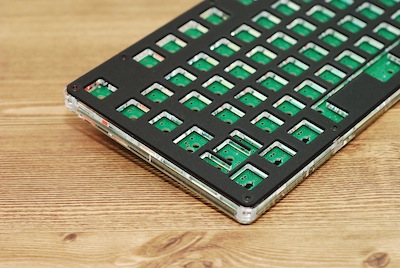
3. Now let’s assemble the upper part.
-
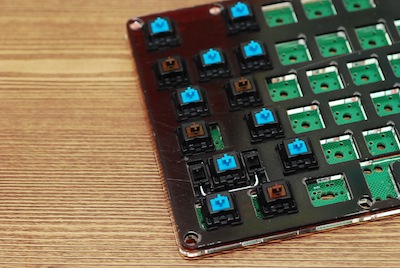
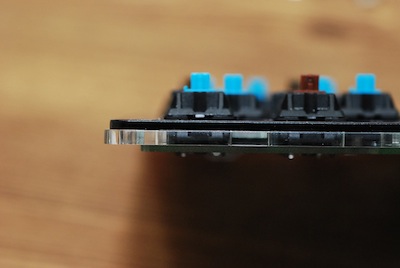
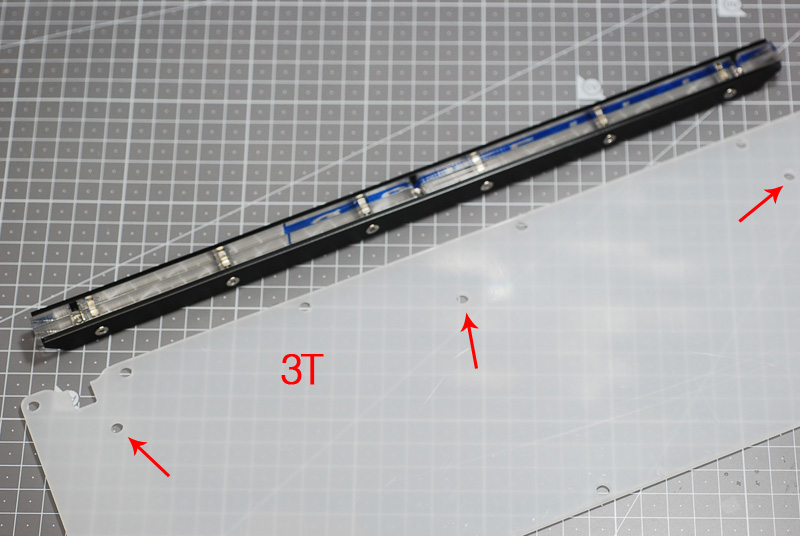
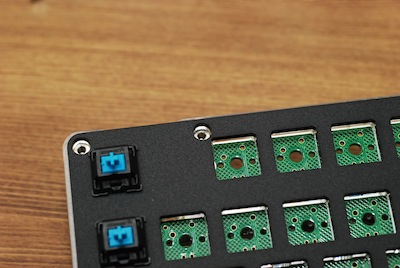
Put 3T and 2T mounting plate together on the PCB.
-
And place key switches like pictures below.
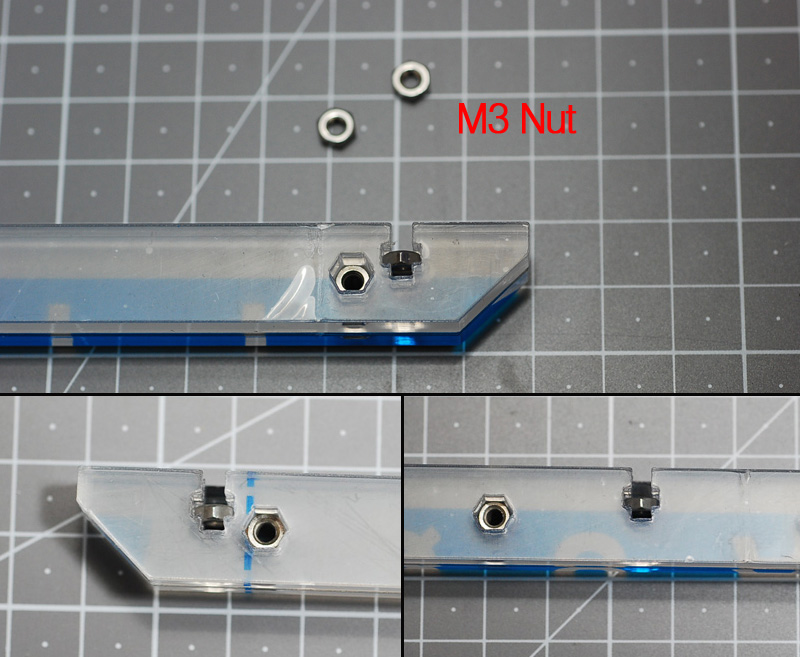
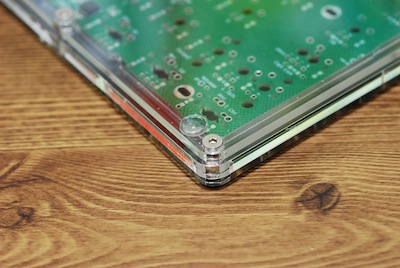
4. The bottom and feet part.
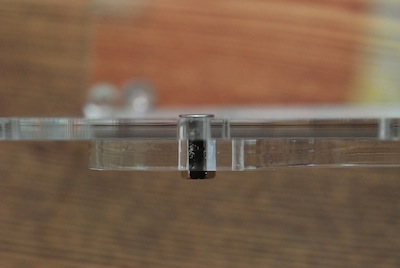
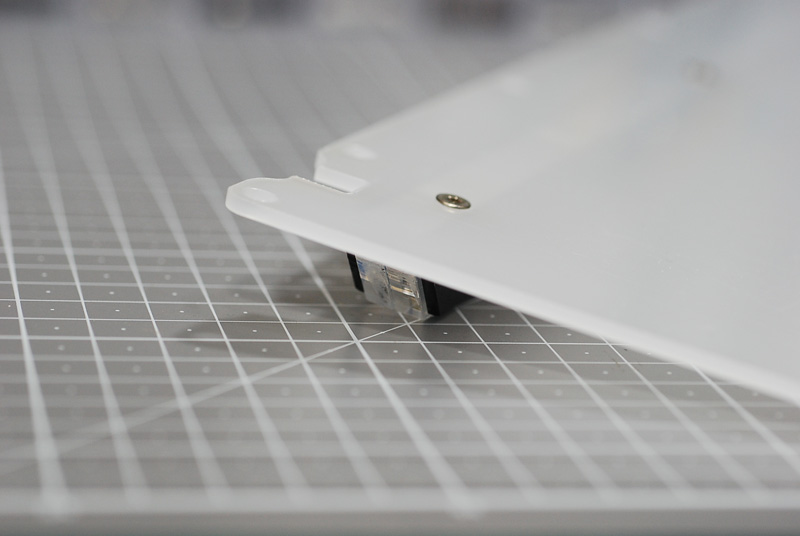
Attach the biggest foot to back side of the last plate using long nuts and bolts.
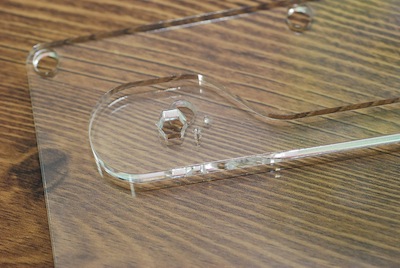
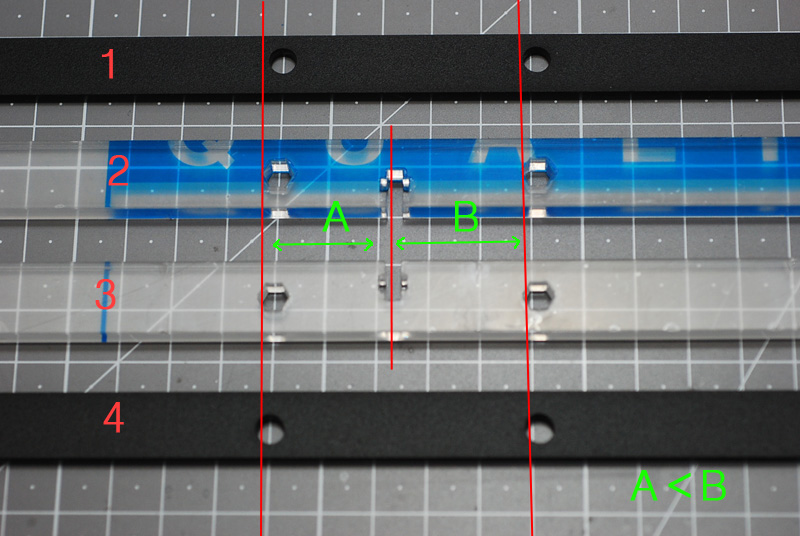
- On the surface of the foot, you can find a small hole which doesn’t do anyting, but just shows the direction not to be confused when you overlap other foot.
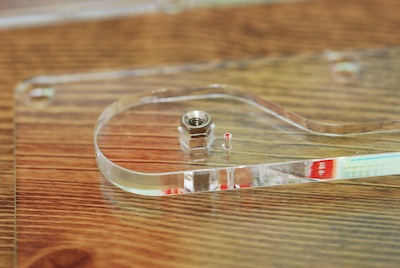
- Using 6mm bolts.
-
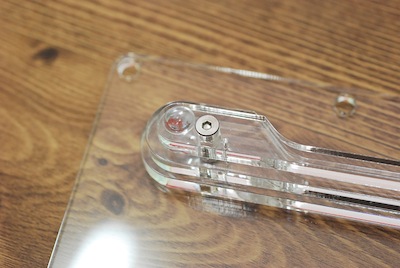
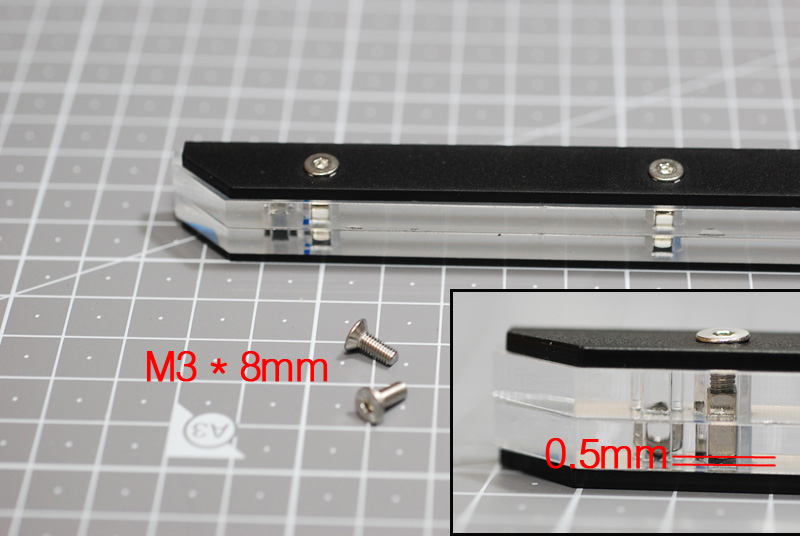
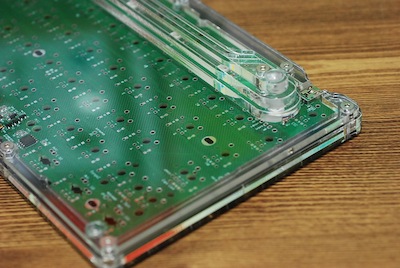
Attach the rest of feet in order of size using 12mm bolts.
-
And attach bumpons.
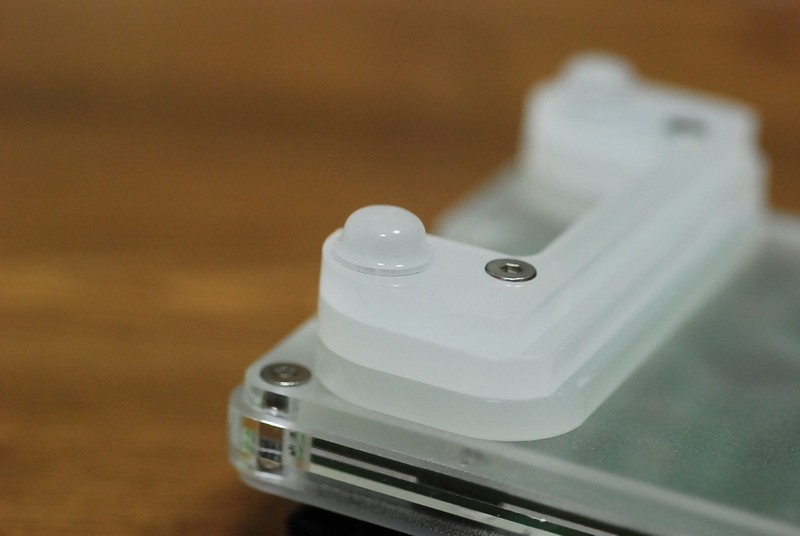

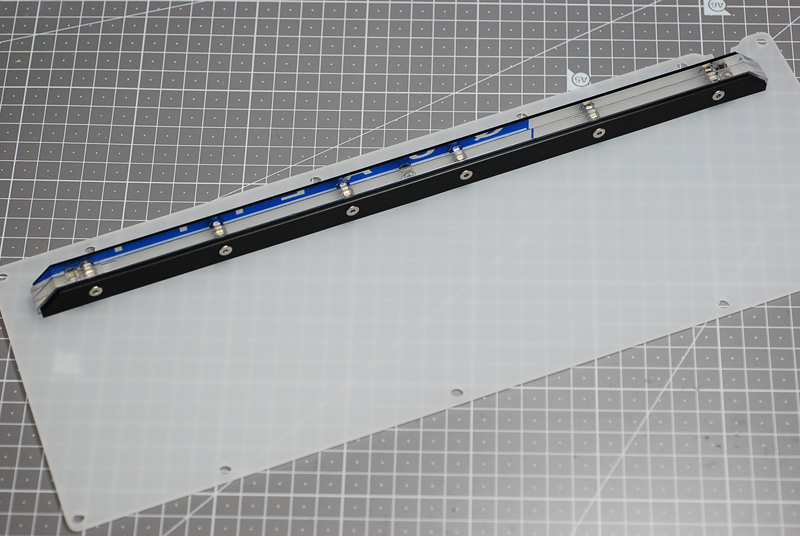
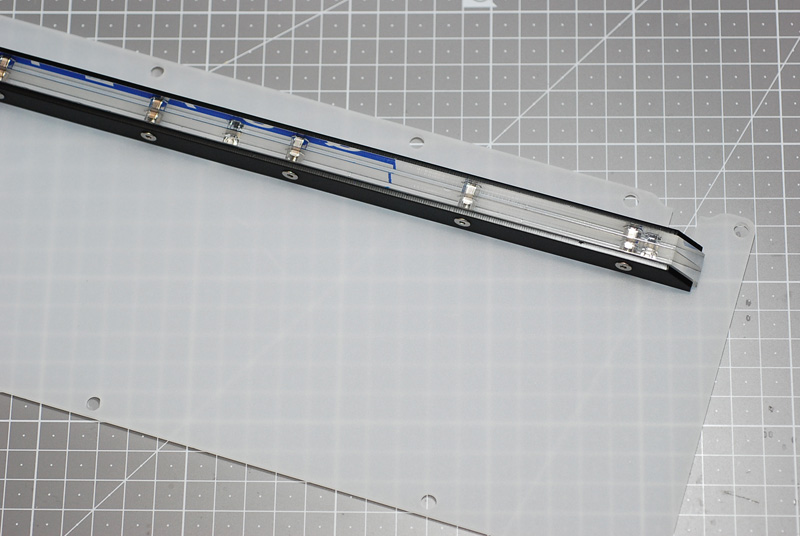
4-1. New style feet
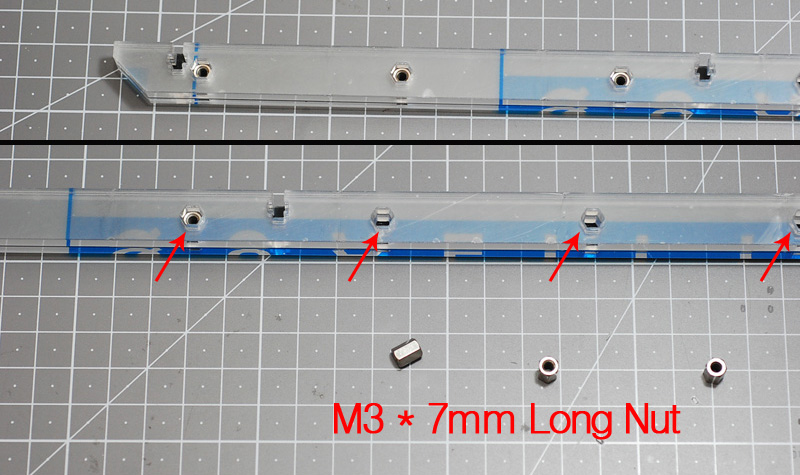
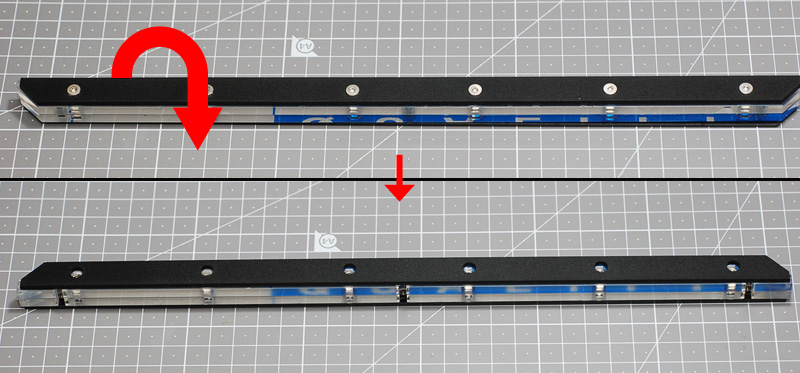

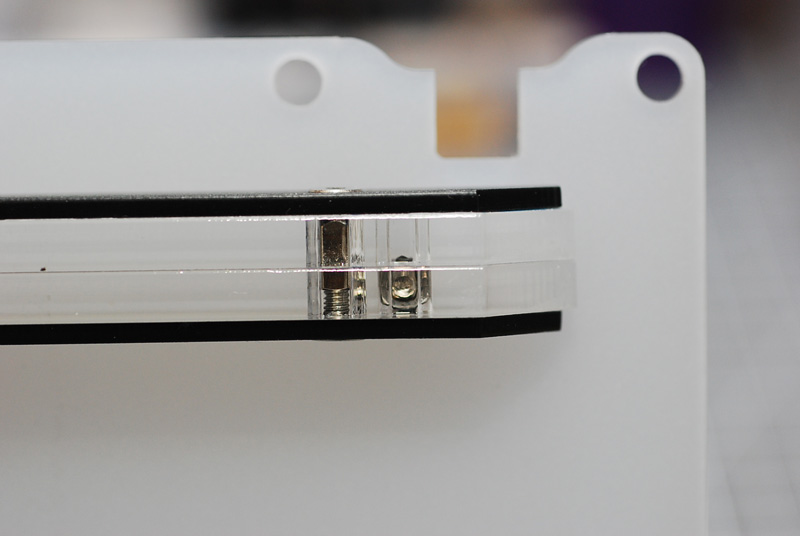
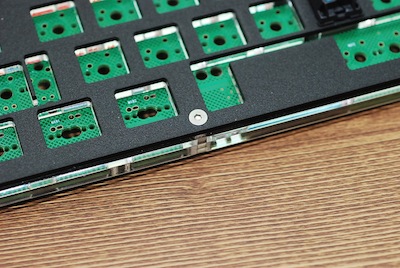
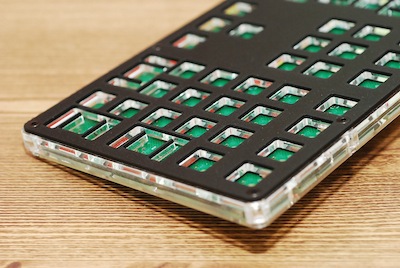
5. Let’s connect the upper part(assembled before at 3) and the bottom part using bolts and nuts like the picture below.
- On joining them with 6mm bolts, the assembling of case is done.
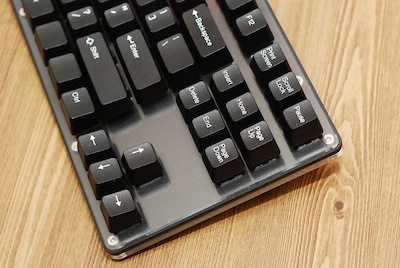
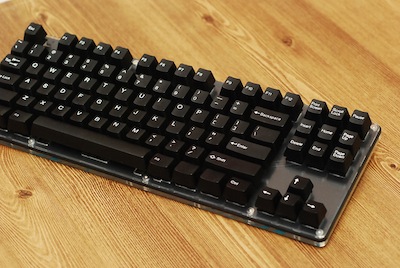
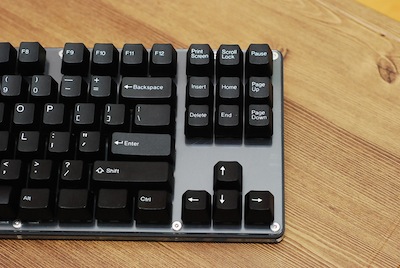
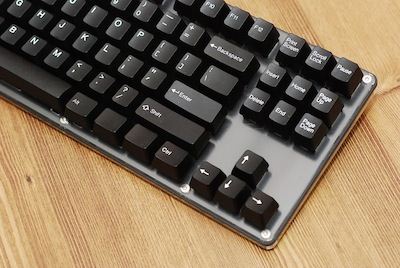
- After that, you can see it like pictures below

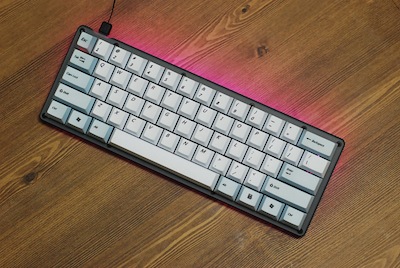
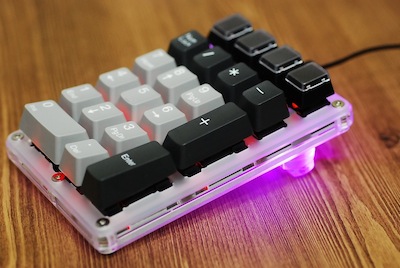
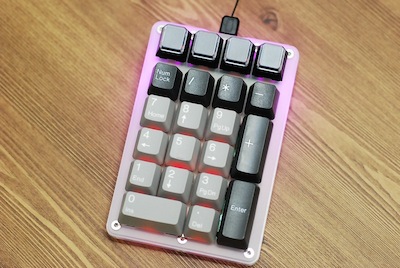
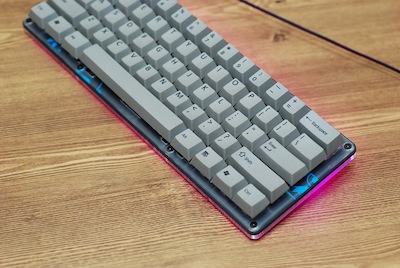
[Completed Keyboards]